本文介绍在Windows环境下,如何搭建Visual Studio + CUDA的开发环境
首先需要安装好Visual Studio 2015/2017/2019
CUDA版本确定
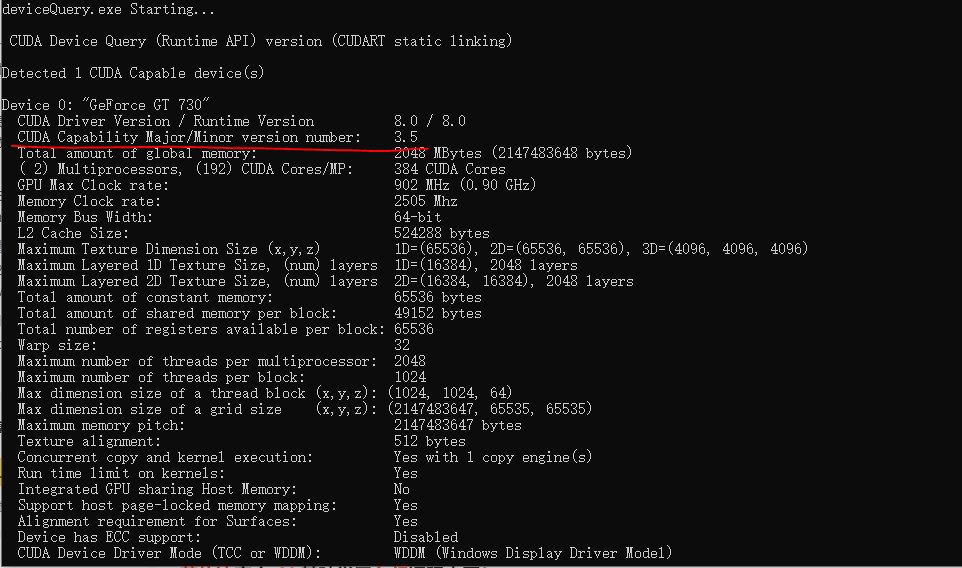
在选择cuda安装时,cuda的版本需要和显卡型号对应算力进行匹配,例如GeForce GT 730算力为3.5。如何查看自己显卡的算力呢?安装了CUDA后可通过CUDA内置的deviceQuery工具输出显卡相关信息,”CUDA Capability Major/Minor version number”这一行的数字就是显卡算力的版本
cudav8.0、cudav9.0到cudav10.0都可以兼容最高3.5算力,可以在以下链接中选择不同的cuda版本
https://developer.nvidia.com/cuda-toolkit-archive
阅读在线文档中的”xxx Compatibility Guide”文档,其中显示的编译选项中显示了算力能力
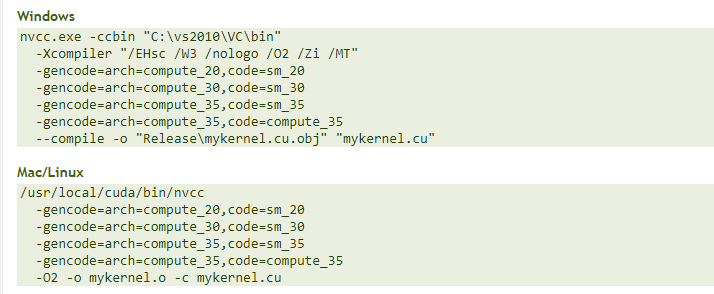
compute_20表示算力2.0,compute_35表示算力3.5
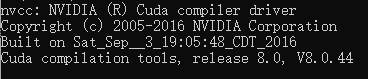
下载安装对应cuda后,在cmd中输入nvcc -V可查看版本
hello world
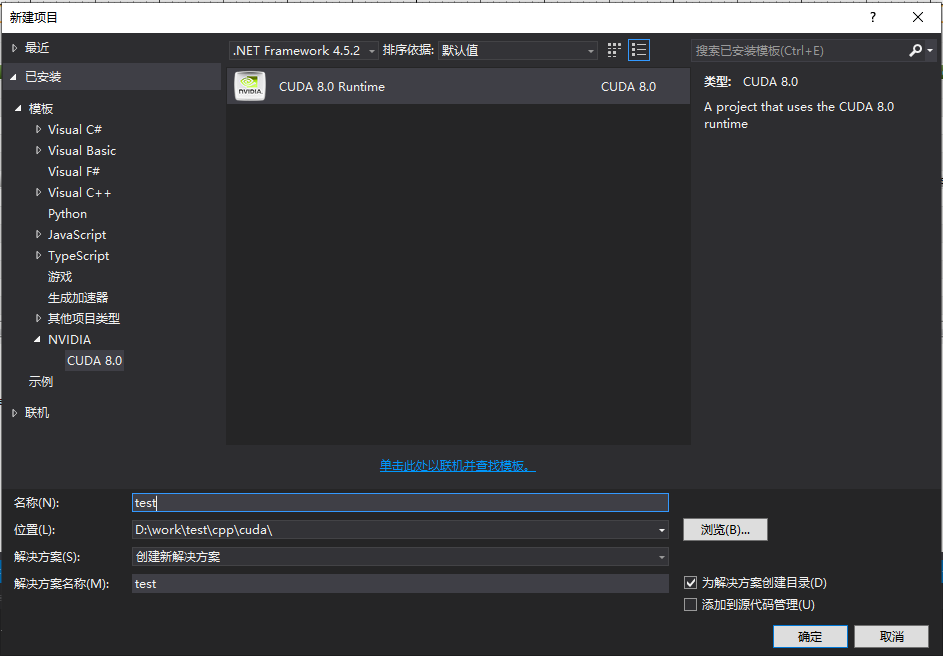
打开vs,文件→新建→NVIDIA→CUDA 8.0,新建一个test工程
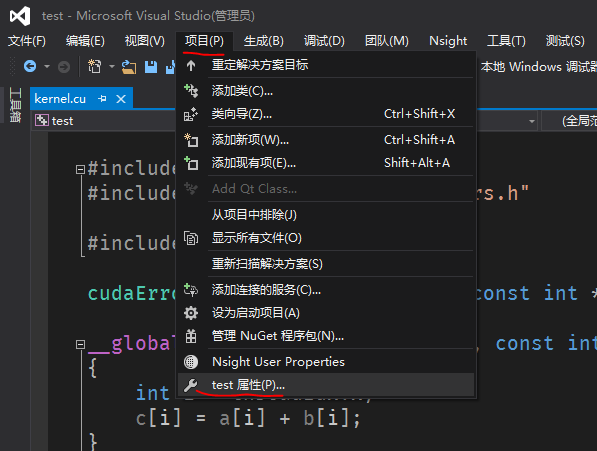
创建项目后,工程会自动生成一个kernel.cu源码文件
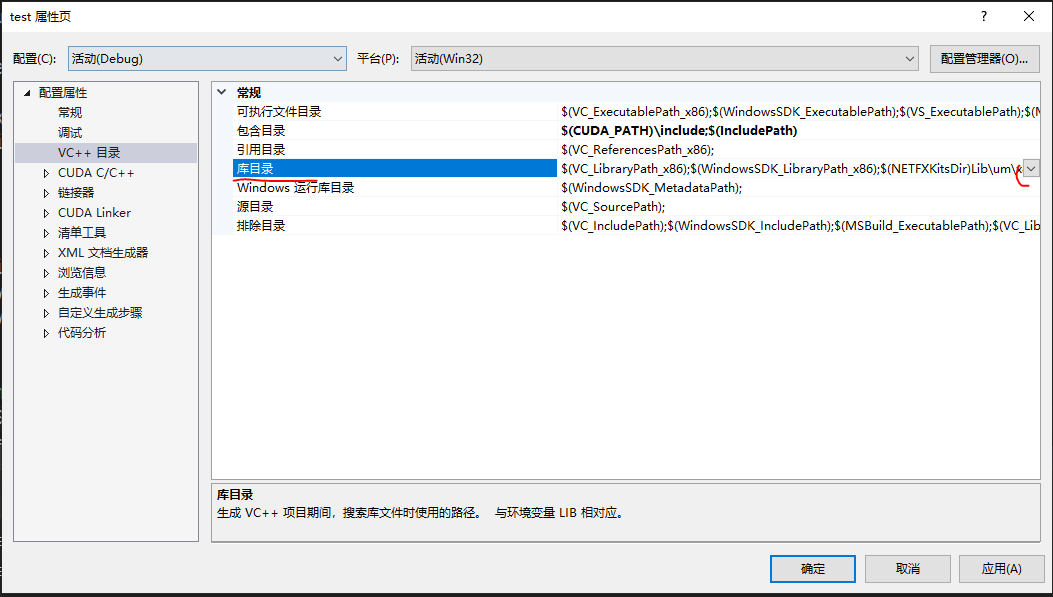
点击项目→test属性
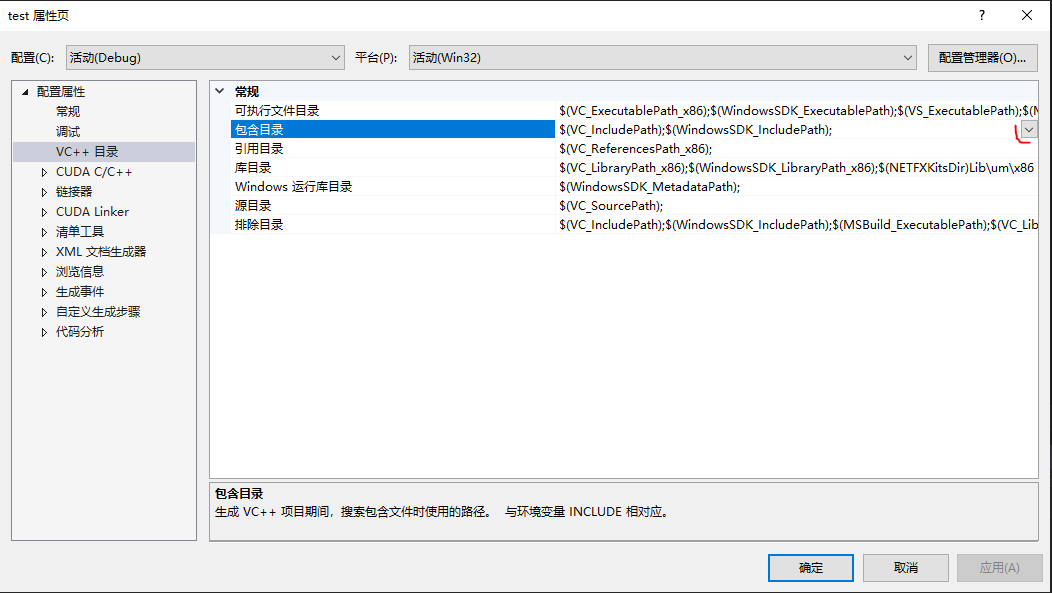
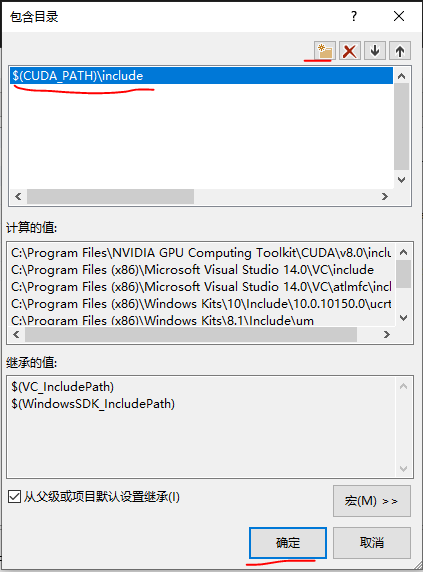
选中VC++目录→包含目录,为其添加CUDA的头文件路径 “$(CUDA_PATH)\include”
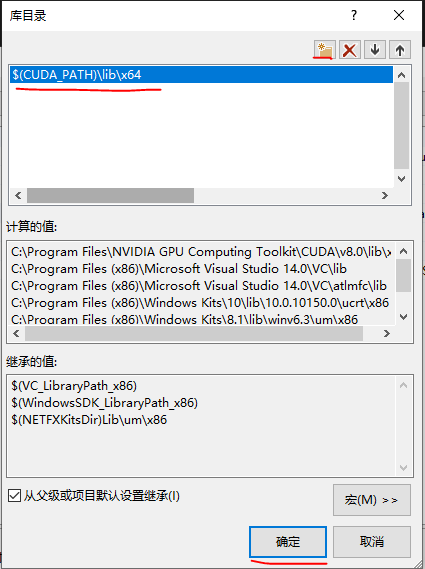
选中库目录,为工程添加CUDA库目录 “$(CUDA_PATH)\lib\x64”
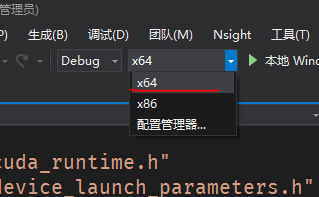
选择Debug模式为x64
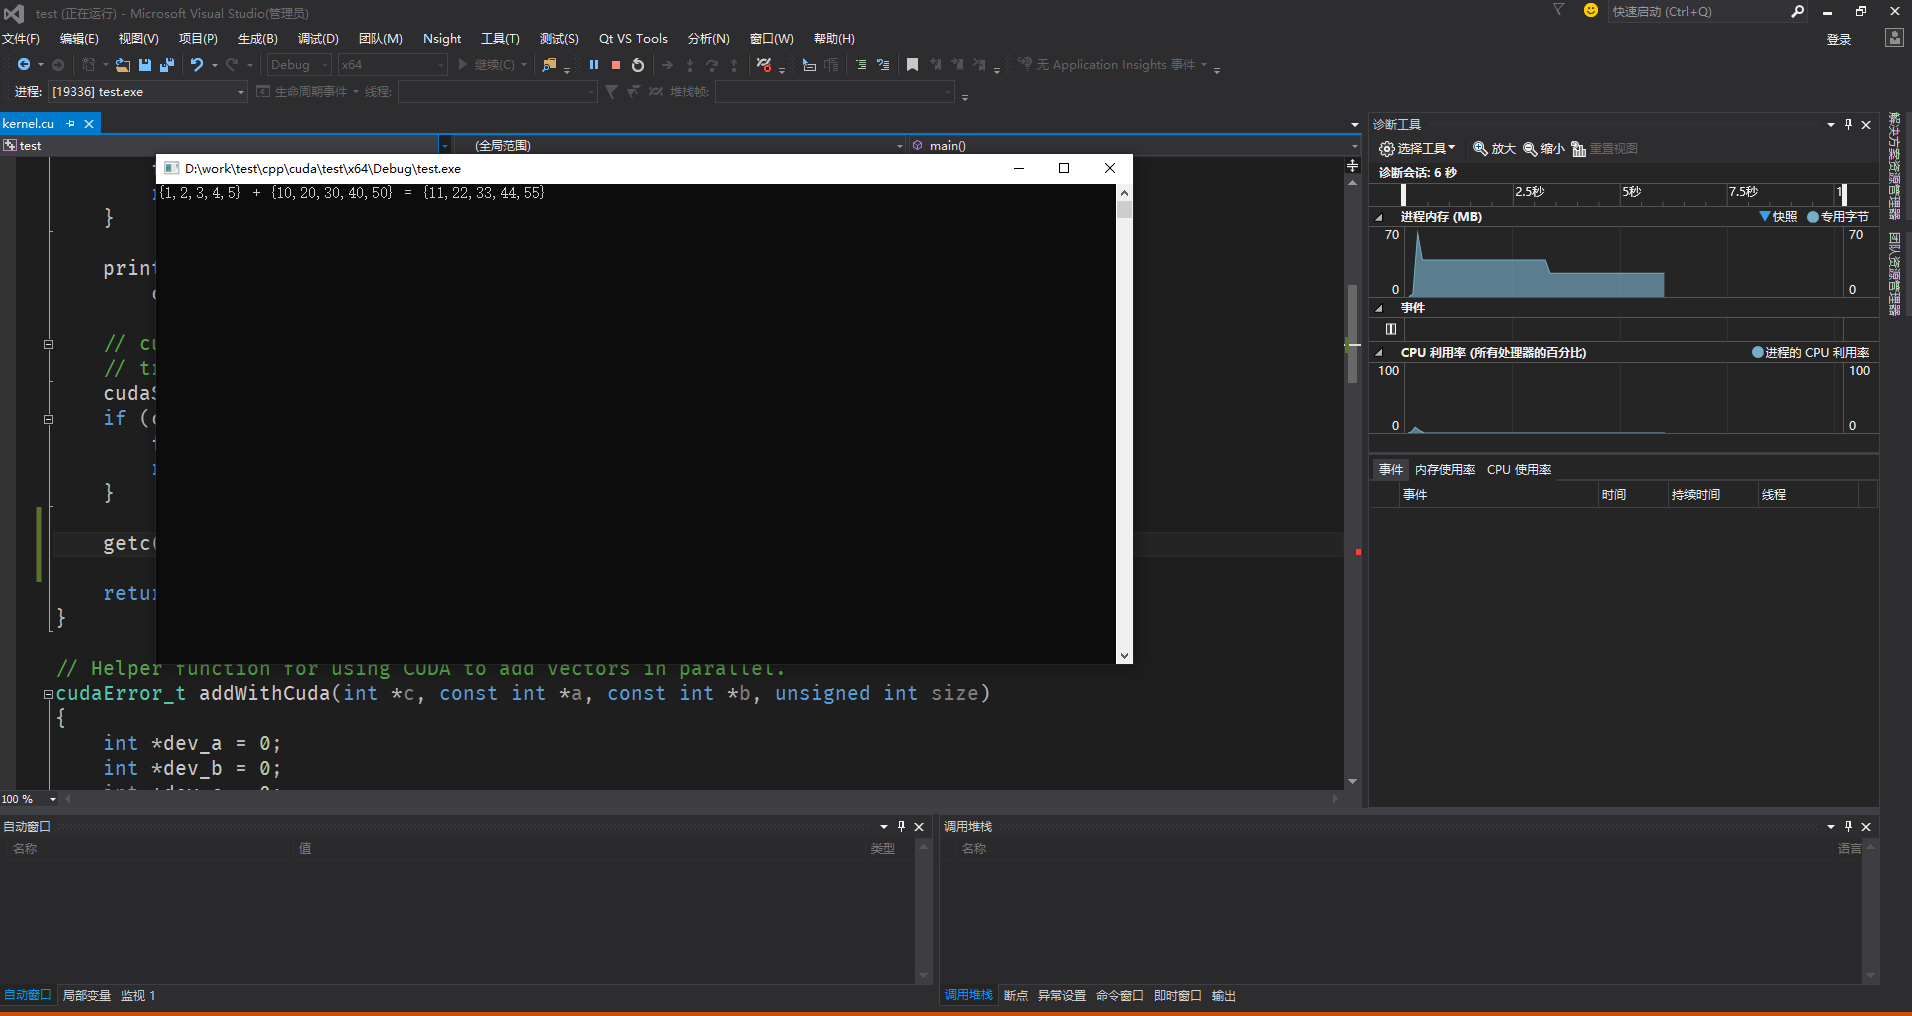
在main函数最后添加如下函数,暂停程序退出
1 | getc(stdin); |
点击本地Windows调试器,运行程序
Nsight可视化调试
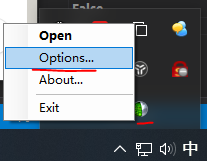
手动运行Nsight Monitor,在电脑右下脚图标处,右键Nsight→options
设置以下选项为True
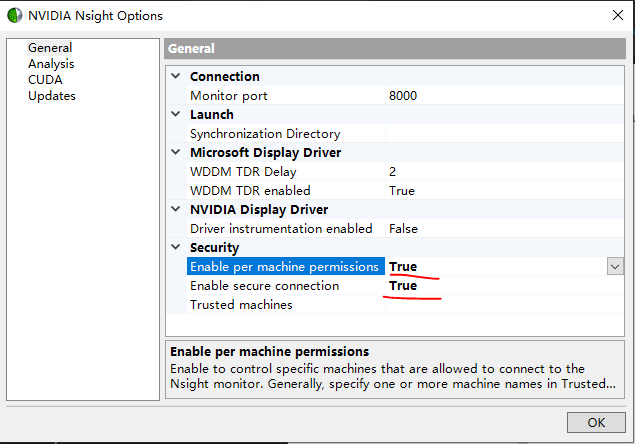
再次右击Nsight图标点击Exit
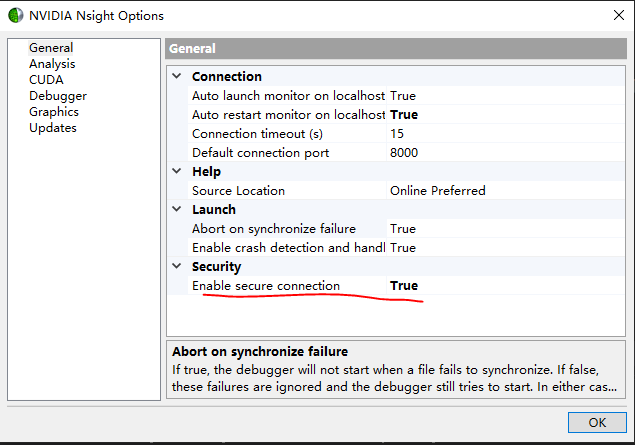
在vs中打开Nsight,也在option中选择以下内容为True
点击vs中的Nsight→Start Performance Analysis

出现如下界面
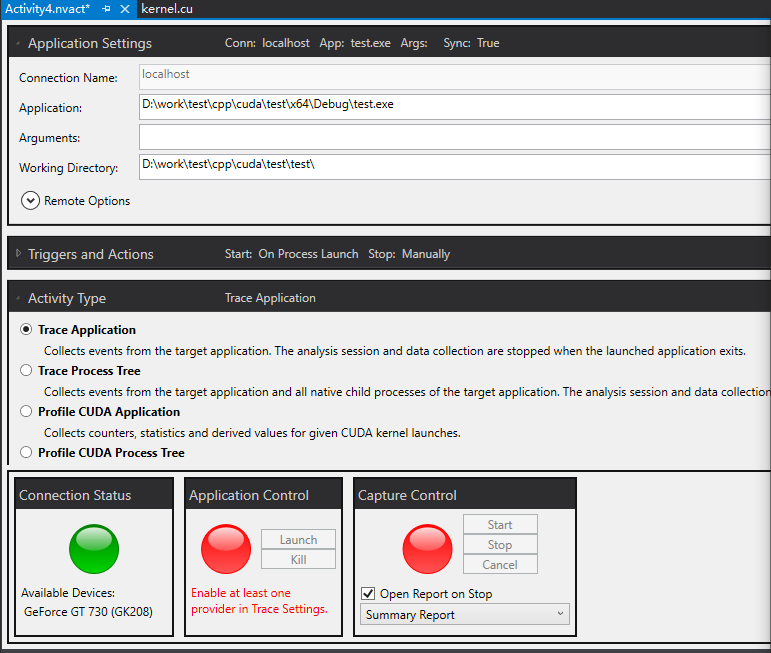
选中Trace Settings→System下面的几个选项和CUDA
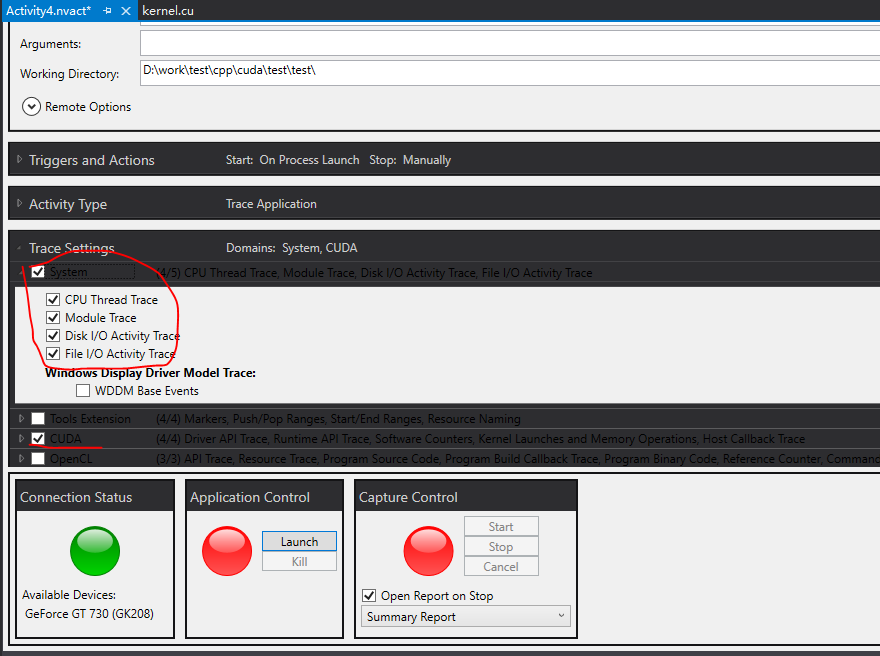
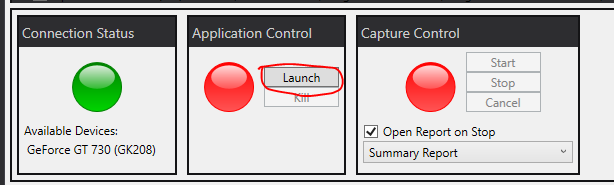
点击下方中间状态灯的Launch
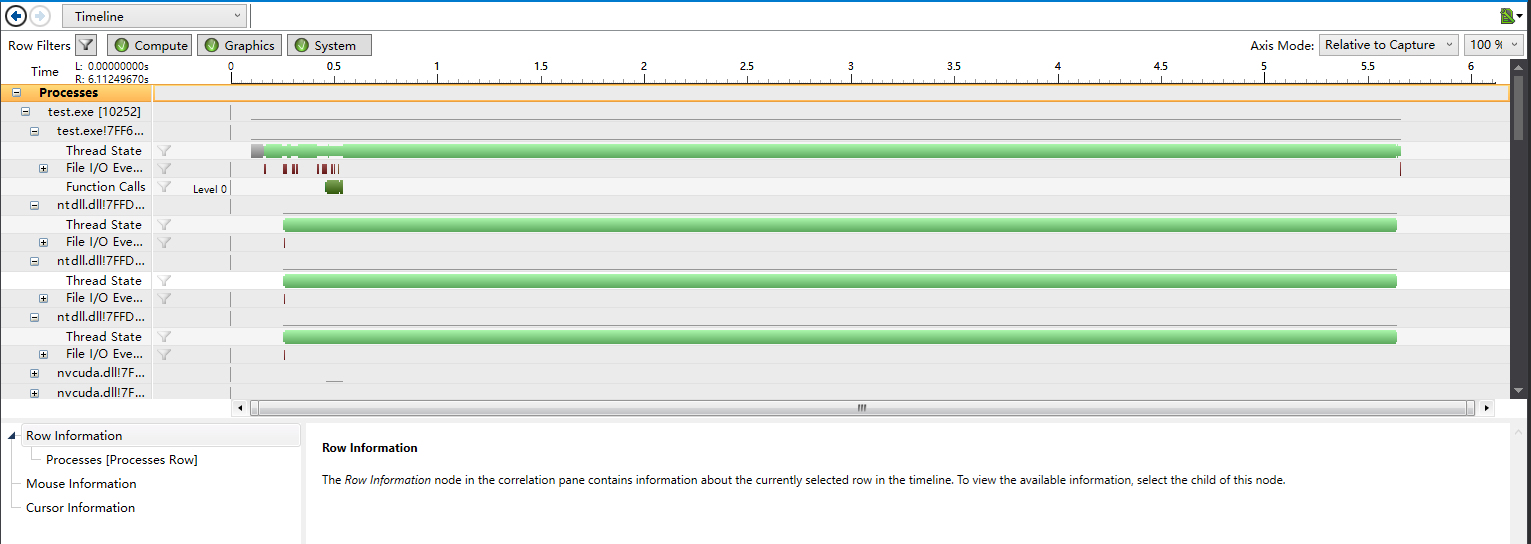
运行完毕后关闭程序,Nsight会自动显示Session Overview
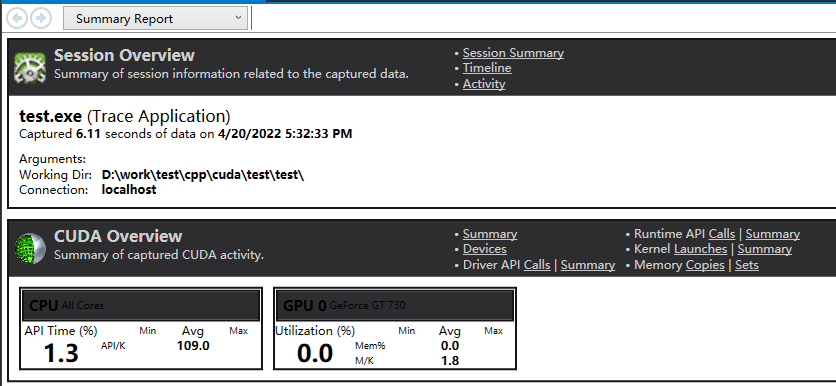
显示了整个GPU运行的概要信息,左上角下拉框选择Timeline可显示时间线